
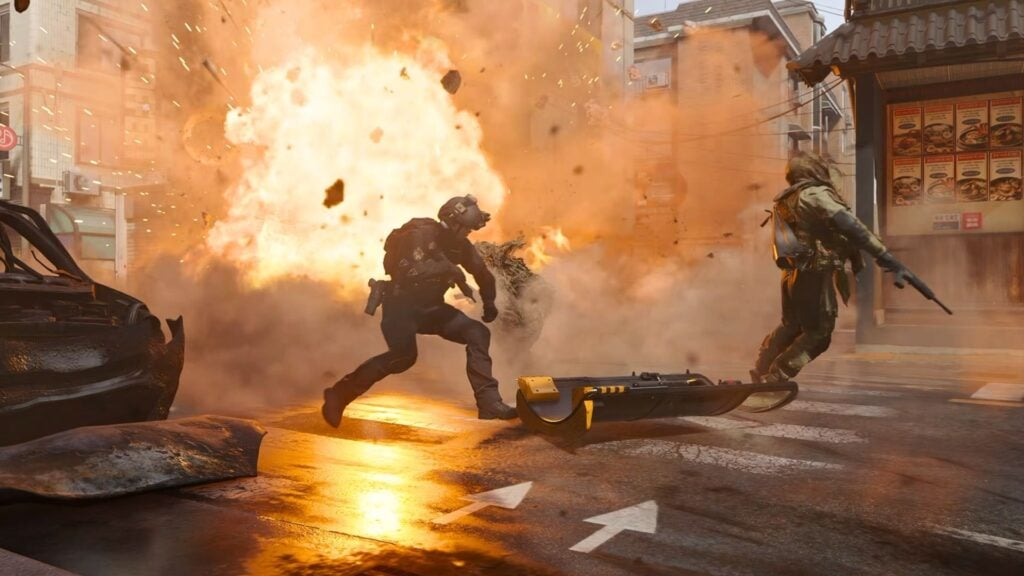
Call of Duty: Modern Warfare 4 introduces a new take on close-quarters combat with the Kill Block playlist. Built around 3v3 Gunfight, the mode takes place inside the fictional West Bridge Advanced Military Training Facility and combines shared randomized loadouts with a modular battlefield.
The defining feature of Kill Block is its changing layout. The map consists of three modular sections called Slabs, and their configuration changes every two rounds. Each new configuration can alter sightlines, cover, routes, and engagement distances, while players also receive a new shared randomized loadout. More than 500 configurations are planned for launch, giving each match plenty of room for different combat situations.
How 3v3 Gunfight Works In Kill Block
Kill Block uses a round-based, single-life elimination format. Two teams of three players compete against each other, with every player receiving the same randomized equipment.
Each shared loadout contains:
- One primary weapon
- One secondary weapon
- Tactical equipment
- Lethal equipment
Since all six players have access to the same weapons and equipment, players cannot rely on customized loadout advantages. Accuracy, positioning, communication, and the ability to adapt to the current equipment become important parts of every round.
The standard objective is to eliminate all three members of the opposing team before the round timer expires.
A team wins the match by reaching six round victories.
How Overtime Works In Kill Block
A round can enter overtime when the regular timer expires while players from both teams are still alive. An overtime flag then appears in the center of the map.
Teams have two ways to secure the round:
| Overtime Situation | Result |
|---|---|
| A team captures the overtime flag | That team wins the round |
| The overtime timer expires | The team with the higher combined health wins |
This gives health management an important role throughout the round. Players should think carefully before taking unnecessary damage, especially when both teams are still alive near the end of the regular timer.
If your team has the health advantage, controlling the route toward the overtime flag can put pressure on the other side. When your team has less combined health, a coordinated move toward the flag can create an opportunity to take control of the round.
Understanding The Kill Block Slabs
The Kill Block battlefield is built from three modular sections known as Slabs.
| Slab | Main Role |
|---|---|
| End Slab | Starting area for one team |
| Central Slab | Main combat section between both teams |
| End Slab | Starting area for the opposing team |
The three sections connect to form the active Kill Block configuration. After every two rounds, the Slabs are rearranged into a new combination.
This system can change the flow of the match without changing the basic 3v3 Gunfight rules. A route that was useful during the opening rounds may become less important after the next configuration appears.
The available combinations include modular sections inspired by recognizable Call of Duty locations such as Shoot House, Crash, and Storage Town. More than 500 configurations are expected at launch.
What Changes When The Slabs Move
A new configuration can change several parts of the battlefield at once.
- Sightlines: New angles can create different long- and medium-range engagements.
- Cover: Familiar defensive positions may disappear or move.
- Flank routes: A new opening can provide another way toward the enemy side.
- Engagement distance: The layout can favor close-range or longer-range weapons.
- Central access: The routes into the middle can change between configurations.
The best way to approach a new layout is to spend a few seconds identifying the major routes before committing to an aggressive push.
New Loadouts Arrive With New Map Configurations
Kill Block does not only change the map every two rounds. Players also receive a new randomized shared loadout when the Slabs reconfigure.
This means the map and weapons can change together.
For example, a close-range weapon combination may make tight routes and short engagements more attractive. A loadout built around longer-range weapons can encourage players to hold wider sightlines and use cover around the Central Slab.
Because both teams receive the same equipment, the important factor is how effectively each team adapts to the new combination.
| Loadout Type | Useful Approach |
|---|---|
| Close-range weapons | Use tight routes and coordinated pushes |
| Mid-range weapons | Control connecting lanes and flexible cover |
| Long-range weapons | Hold extended sightlines and punish open movement |
| Mixed equipment | Assign different players to complementary ranges |
How To Control The Central Slab
The Central Slab connects both sides and is likely to become one of the main engagement areas. Moving into it without support can expose a player to several angles at once.
A three-player setup can make the center easier to manage:
- Hold an angle: One player watches a key route.
- Stay within trade range: A second player remains close enough to support the first.
- Watch the flank: The third player checks an alternate route and looks for an opening.
These roles can change as the round develops. If the enemy begins using a different route, adjust the formation instead of continuing with the same setup.
Use The First Round To Read The Enemy
Teams switch starting sides after the first round. This gives players an early opportunity to learn how the opposing team approaches the current configuration.
Pay attention to:
- Which routes opponents prefer.
- Who moves toward the Central Slab.
- Whether the enemy pushes together or splits up.
- Which angles they use to hold their side.
- How quickly they challenge the middle.
This information can help your team make better decisions after the side swap. It should not be treated as a fixed prediction, since opponents can change their approach at any point.
Adapt After Every Two Rounds
The two-round cycle is one of the most important mechanics to understand in Kill Block. When the Slabs move, take a moment to reassess the battlefield rather than immediately repeating the previous strategy.
Check the new configuration for:
- Long sightlines
- Close-quarters routes
- Useful cover
- Flanking opportunities
- Paths toward the Central Slab
- Areas that match the current weapons
The same principle applies to the new shared loadout. A weapon that worked well in the previous two rounds may require a completely different position in the next configuration.
Players who want more time to practice movement, weapon handling, and positioning can also use cheap Bot Lobbies MW4 to test different approaches before taking them into 3v3 Gunfight.
Manage Health Before Overtime
Health becomes especially important when a round reaches its final seconds. Since the team with the higher combined health can win an overtime without capturing the flag, every unnecessary hit can affect the outcome.
Try to avoid taking damage simply to secure a small positional advantage. When the timer is running low, communicate your team’s health situation and decide whether holding position or contesting the flag makes more sense for the current round.
A team with a health advantage can focus on protecting its lead, while a team behind on health may need to create a coordinated play around the overtime flag.
Communication Matters In 3v3 Gunfight
With only three players on each team, every elimination has a significant effect on the round. Losing one operator immediately changes the numbers from three-versus-three to a two-versus-three situation.
Keep communication short and useful. Call out enemy locations, damage, routes, and important changes to the battlefield.
Good communication can help teammates:
- Trade eliminations.
- Cover separate routes.
- Respond to enemy flanks.
- Control the Central Slab.
- Decide when to contest overtime.
- Adjust positions after a Slab change.
Staying within reasonable support distance also gives the team more opportunities to trade kills instead of taking isolated fights.
Kill Block Tips For Better Results
Keep these habits in mind when playing 3v3 Gunfight:
- Learn the current configuration: Do not assume the previous map layout will return immediately.
- Check the center: Understand the routes leading into the Central Slab before pushing.
- Adapt to the weapons: Change your positioning according to the current shared loadout.
- Protect your health: Avoid unnecessary damage when overtime is a possibility.
- Watch new flank routes: Slab changes can create approaches that were unavailable earlier.
- Stay close to teammates: Trading kills is especially important in a three-player team.
- Use the side swap: Compare how the enemy approaches the map from the opposite starting side.
- Reassess every two rounds: Treat each new configuration as a fresh tactical situation.
Kill Block keeps the familiar 3v3 Gunfight objective while adding a constantly changing tactical layer. The shared randomized loadouts give both teams the same tools, while the Slab system changes the routes, sightlines, and cover throughout the match. Understanding those changes and communicating with teammates can make each six-round push more structured and effective.